|
cuiksilhouette.c File Reference Detailed Description
A tool to generate Canny's silhouette roadmaps of configuration spaces. Up to now it is only an example of how to use cuik to deal with complex problems, but the current implementation is only effective with moderately complex problems and does not take into account obstacles. Note that, as in the original work by Canny, we assume that the input system is in generic position and has generic parameters. Otherwise the algorithm will fail. Moreover, we assume that the CuikSystem includes only system and dummy variables, i.e., no cartesian variables are included. To use CuikSilhouette use a small (i.e., 1e-4) SMALL_SIGMA and a relatively large (i.e., 1e-1) SIGMA. The first one is used to accurately determine critical points and the second one is the resolution for the silhouettes (i.e., the paths connecting critical points). An example of how to use this application:
With this you will obtain the cuiksilhouette of the torus 
The cuiksilhouette takes care of generating the initial silhouette, the critical points of this curve and recursively applies the procedure for the slices at these critical points. The total execution time is below 8 seconds in the case of the torus. The final solution files includes all the silhouettes and the critical points. To separate them in files you can execute:
Note that 2 out of the 4 silhouettes of the second level are actually critical points (they correspond to the recursion for the critical points on the extremes of the torus). The plots of the separated files can be visualized executing
Note that we enlarge the critical points to make them visible. After some tunning of the colors in geomview you can obtain something like this. 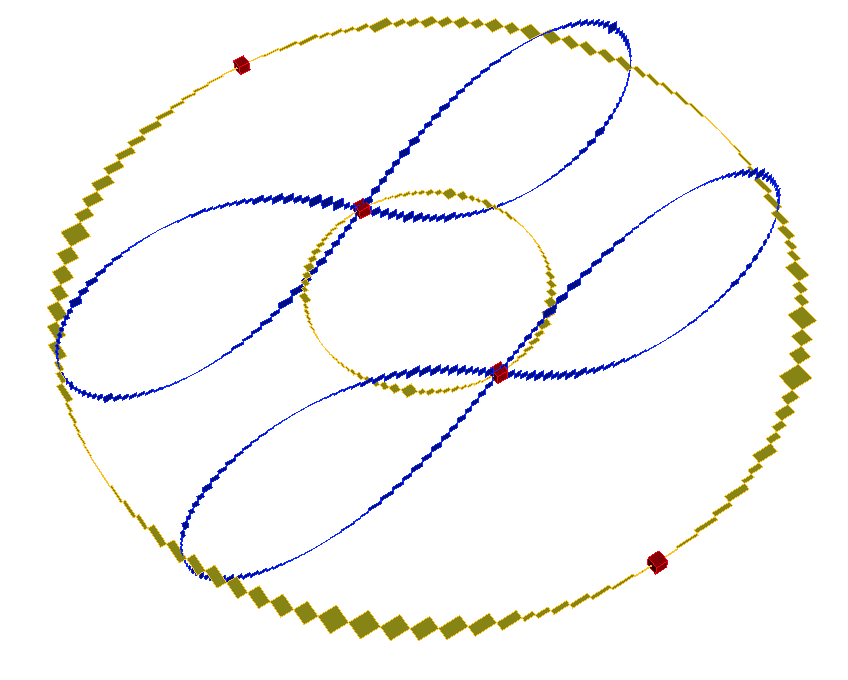
Note however that this silhouettes computation procedure is only effective for simple problems.
Definition in file cuiksilhouette.c.
Function Documentation
Main body of the cuiksilhouette application. Use:
where
The .cuik extension is optional.
Definition at line 128 of file cuiksilhouette.c. References AddFirstElement(), CreateFileName(), CUIK_EXT, DealWithCP(), DeleteBox(), DeleteCP(), DeleteFileName(), Error(), ExtractFirst(), GetFileFullName(), InitBox(), InitCuikSystemFromFile(), InitList(), InitParametersFromFile(), ListEmpty(), NEW, NewCP(), PARAM_EXT, randomReset(), and SOL_EXT. | ||||||||||||||||||||||||
Follow us!